Preparing your subject dataset
Learn how to prepare your dataset and maximise your insights using Atmolytics Cloud
Supported data sources
The beta version Atmolytics Cloud supports the following data sources:
- CSV (.csv)
- Excel Spreadsheet (.xlsx)
In the future, you’ll be able to connect Atmolytics Cloud to PostgreSQL, MySQL and SQL Server.
How to prepare your dataset
When you upload your dataset for the first time, we’ll ask you a few questions to help set up your environment. So lets prepare your first dataset so your data benefits from Atmolytics Cloud.
Who or what is your subject matter?
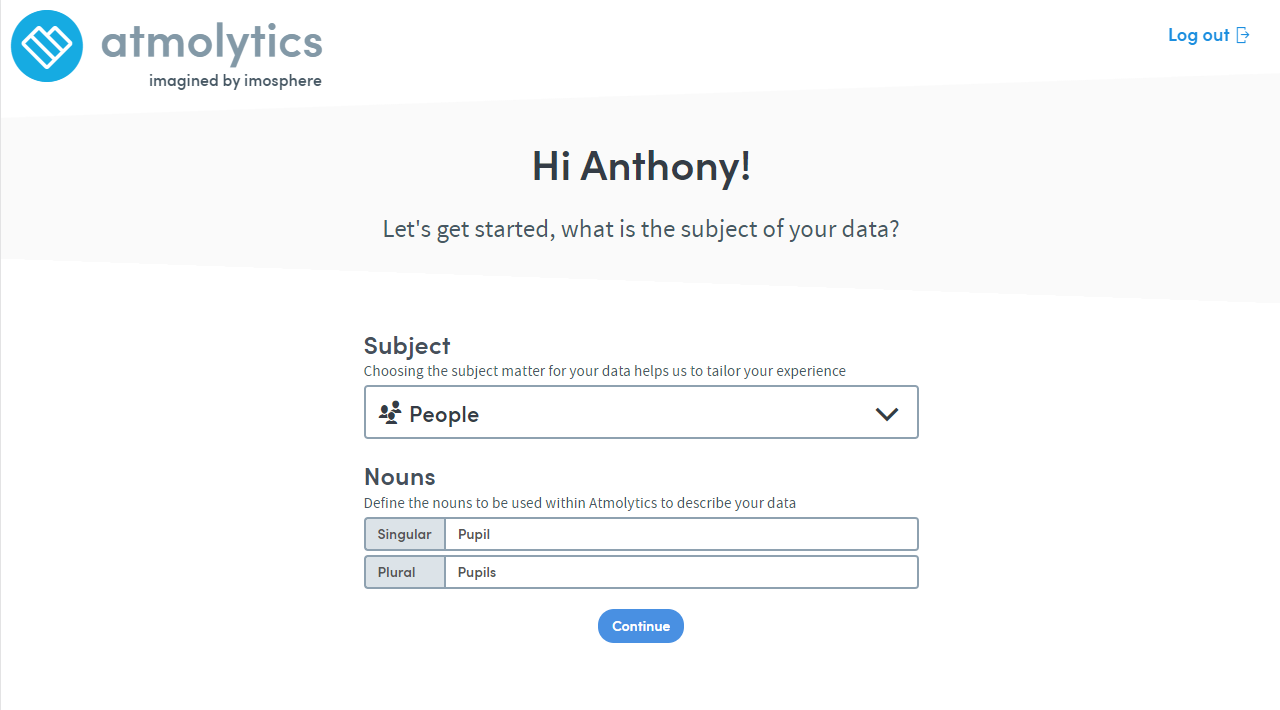
The first dataset should be about your subject. This will form the basis for extra datasets.
For example:
- If your subject is about different makes or models of car, then each row might be a model of vehicle. Each column could represent a different data point:
- top speed
- fuel economy
- car body
- recommended retail price
- If your subject is about students, then each student might have a single row of information. Each column could represent a different data point:
- first name
- surname
- date of birth
- sex
You’ll be able to link extra datasets later, which will add richness to your analysis.
Defining your header row (optional)
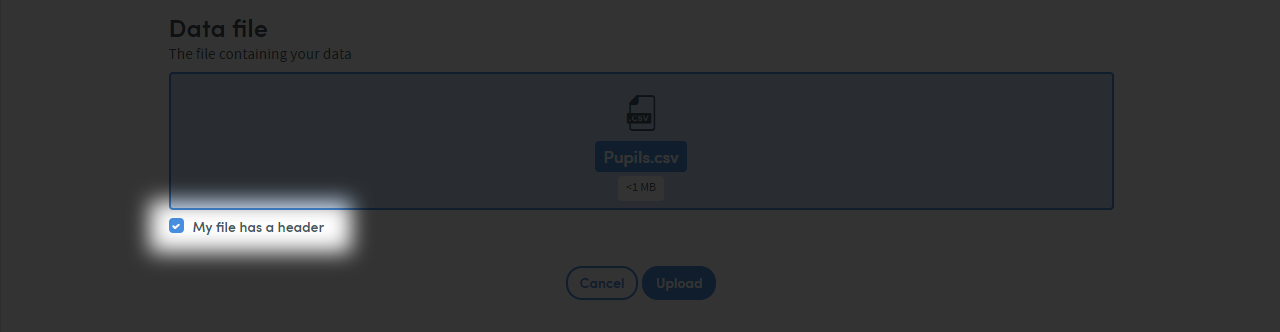 You can tell Atmolytics Cloud if your dataset has a header row. The system will label your data columns for you based on the values in your header row. You’ll be able to edit them later.
Unpopulated columns
 When there is no data in a column Atmolytics Cloud will limit your data type choices to a text field. You could also upload a ‘dummy data’ file, to help Atmolytics Cloud identify the correct data type.
If uploading a ‘dummy data’ file, if the field is a picklist. You can add a list of items twice in the appropriate column. When you come to upload your real data, you can update the entire file. This will remove these rows of dummy data during updates.
Unique identifiers
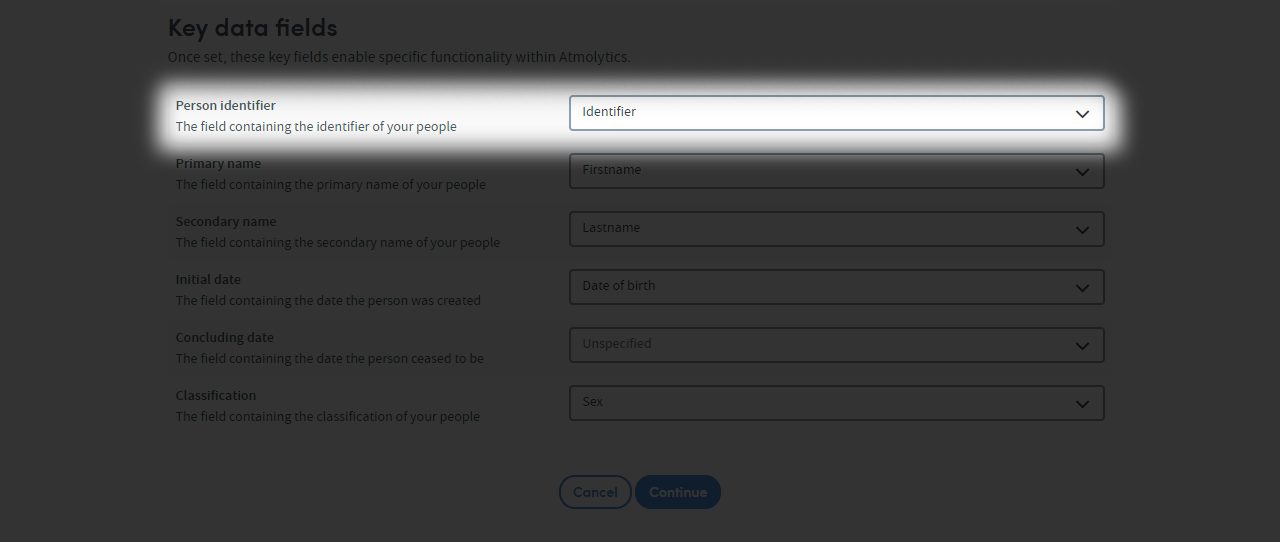 A unique identifier will help you update your dataset later. It will also allow you to link extra datasets back to your subject dataset.
Primary and Secondary Name
 You can use primary and secondary names to describe your subject matter.
For example:
- If your data is about vehicle models, then the primary name could be the make e.g. Ford. The secondary name could be the model e.g. Mondeo
- If your data is about students, then the primary name could be their first name eg. Joe. Their secondary name could be their surname e.g. Bloggs
You’ll be able to link extra datasets later, which will add richness to your analysis.
Initial and concluding dates (optional)
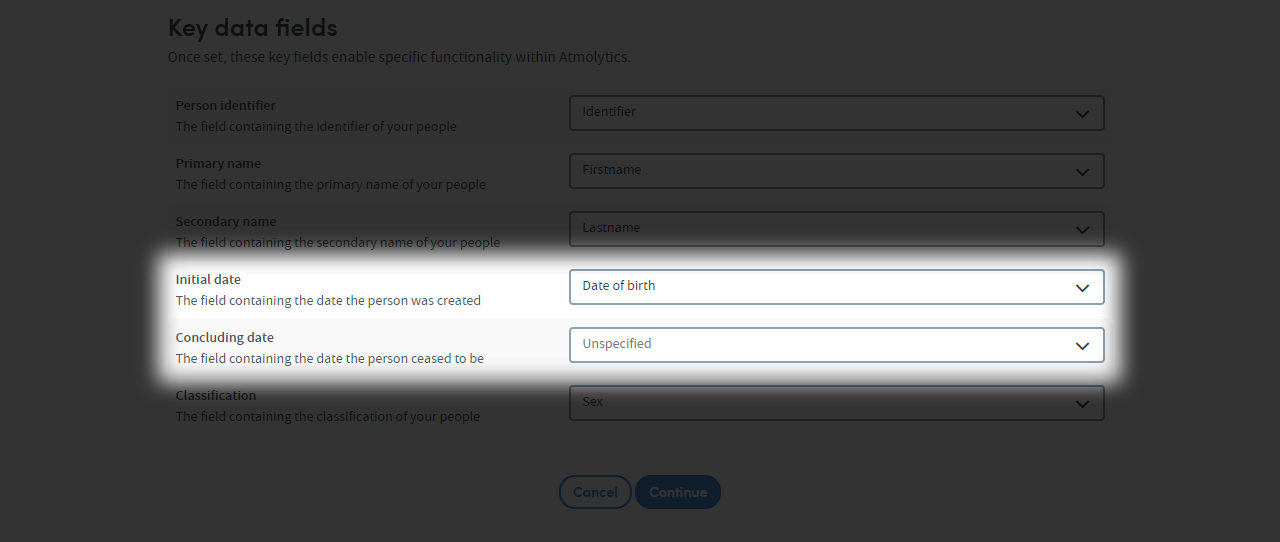 These options are for marking the beginning and end of your subject matter items. They are optional, so if you feel these options do not apply to your data, they can be blank.
For example:
- If your data is about cars, the initial date could be the car’s launch date. The concluding date could be when the manufacturer stopped making the model
- If your data is about students, the initial date might be the date they started school. The concluding date could be when they left education
Classification
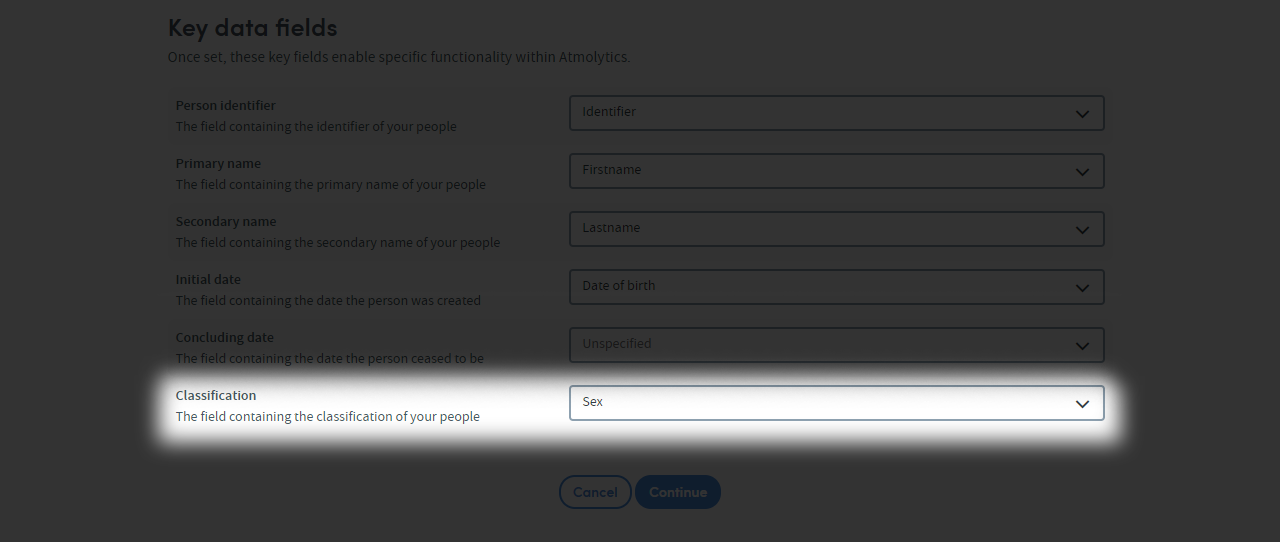 The classification option allows you to group your data by a common characteristic.
For example:
- If your data is about cars, a suitable candidate for this field could be car body
- If your data is about students, a suitable candidate for this field could be sex
Your dataset should now be ready to upload.
Further reading
- Next article: Uploading Your Data